Stable diffusion usage example
In this example, we’ll show you how to run a sample Automatic1111 (from modelserve AI) image using Golem Workers.
1. Create a cluster
In the first step, create a cluster with any name you choose (cluster_id). For example: example.
curl --location 'http://localhost:8000/create-cluster' \
--header 'Content-Type: application/json' \
--data '{
  "cluster_id": "example",
  "budget_types": {
    "default": {
      "budget": {
        "golem_workers.budgets.AveragePerCpuUsageLinearModelBudget": {
          "average_cpu_load": 1,
          "average_duration_hours": 0.5,
          "average_max_cost": 1.5
        }
      },
      "scope": "cluster"
    }
  },
  "network_types": {
    "default": {
      "ip": "192.168.0.1/16"
    }
  },
  "node_types": {
    "default": {
      "market_config": {
        "filters": [
          {
            "golem_reputation.ProviderBlacklistPlugin": {
              "payment_network": "holesky"
            }
          }
        ],
        "sorters": [
          {
            "golem_reputation.ReputationScorer": {
              "payment_network": "holesky"
            }
          }
        ]
      },
    }
  }
}'
create-cluster JSON explained
Default budget
  "budget_types": {
    "default": {
      "budget": {
        "golem_workers.budgets.AveragePerCpuUsageLinearModelBudget": {
          "average_cpu_load": 1,
          "average_duration_hours": 0.5,
          "average_max_cost": 1.5
        }
      },
      "scope": "cluster"
    }
  },
The golem_workers.budgets.AveragePerCpuUsageLinearModelBudget is a go-to budget component for managing costs. This budget model defines the maximum amount you're willing to pay for renting nodes based on estimated usage.
In this example, the configuration ensures that the node will not cost more than 1.5 GLM, assuming that:
- The node will run for 0.5 hours.
- On average, 1 CPU will be actively used during that time.
You can specify multiple budget types, and select the appropriate one when creating individual nodes. If no specific budget is selected, the default budget type will be used automatically.
Default node type
  "node_types": {
    "default": {
      "market_config": {
        "filters": [
          {
            "golem_reputation.ProviderBlacklistPlugin": {
              "payment_network": "holesky"
            }
          }
        ],
        "sorters": [
          {
            "golem_reputation.ReputationScorer": {
              "payment_network": "holesky"
            }
          }
        ]
      },
    }
  }
The golem_reputation.ProviderBlacklistPlugin and golem_reputation.ReputationScorer are Golem-Workers components that allow integration with the Golem Reputation service. These components help ensure that providers meet certain trust and performance criteria before being used.
In the following JSON configuration, the settings ensure that, regardless of how the node’s market configuration is defined during specific node creation, both the provider blacklist and the public reputation score will be considered when selecting a provider.
2. Create a node
Next, create a node based on the image scalepointai/automatic1111:4 and specify the path to the model (e.g. a precached on Golem Network proxy SD model https://gpu-provider.dev.golem.network/models/v1-5-pruned-emaonly.safetensors ).
curl --location 'http://localhost:8000/create-node' \
--header 'Content-Type: application/json' \
--data '{
  "cluster_id": "example",
  "node_networks": {
	"default": {}
  },
  "node_config": {
	"market_config": {
  	  "demand": {
    	"payloads": [
      	  {
            "golem_workers.payloads.ClusterNodePayload": {
          	  "runtime": "vm-nvidia",
          	  "image_tag": "scalepointai/automatic1111:4",
          	  "subnet_tag": "gpu-test",
                "outbound_urls": [
                  "https://gpu-provider.dev.golem.network"
                ]
            }
      	  }
    	]
  	  }
	},
	"on_start_commands": [
  	  {
    	"golem_workers.work.deploy_and_start_activity": {
      	  "deploy_timeout_minutes": 60
    	}
  	  },
  	  {
    	"golem_workers.work.prepare_and_run_ssh_server": {
          "ssh_private_key_path": "/tmp/ssh_key"
    	}
  	  },
  	  {
    	"golem_workers.work.run_in_shell": [
      	  "cd /usr/src/app/ && ./start.sh --model_url https://gpu-provider.dev.golem.network/models/v1-5-pruned-emaonly.safetensors > /usr/src/app/output/log 2>&1 &"
    	]
  	  }
	],
	"sidecars": [
  	  {
    	"golem_workers.sidecars.WebsocatPortTunnelSidecar": {
      	  "network_name": "default",
      	  "local_port": "8080",
      	  "remote_port": "8000"
        }
  	  },
  	  {
    	"golem_workers.sidecars.WebsocatPortTunnelSidecar": {
      	  "network_name": "default",
      	  "local_port": "8081",
      	  "remote_port": "8001"
    	}
  	  }
	]
  }
}'
create-node JSON explained
Node selection (market_config)
	"market_config": {
  	  "demand": {
    	"payloads": [
      	  {
            "golem_workers.payloads.ClusterNodePayload": {
          	  "runtime": "vm-nvidia",
          	  "image_tag": "scalepointai/automatic1111:4",
          	  "subnet_tag": "gpu-test",
                "outbound_urls": [
                  "https://gpu-provider.dev.golem.network"
                ]
            }
      	  }
    	]
  	  }
	},
In this example, we are using the vm-nvidia runtime to obtain nodes with GPUs. Additionally, we configure the node to allow downloading images from Hugging Face (which is available only on the testnet) and our own gpu-provider.dev.golem.network proxy. The node will use the image published to Golem Registry as scalepointai/automatic1111 in version 4.
This image includes a start.sh script that automatically downloads a model and starts the Automatic1111 Web UI.
For more details on configuring the market, see Create-Node Market Configuration section.
Service setup (on_start_commands)
	"on_start_commands": [
  	  {
    	"golem_workers.work.deploy_and_start_activity": {
      	  "deploy_timeout_minutes": 60
    	}
  	  },
  	  {
    	"golem_workers.work.prepare_and_run_ssh_server": {
          "ssh_private_key_path": "/tmp/ssh_key"
    	}
  	  },
  	  {
    	"golem_workers.work.run_in_shell": [
      	  "cd /usr/src/app/ && ./start.sh --model_url https://gpu-provider.dev.golem.network/models/v1-5-pruned-emaonly.safetensors > /usr/src/app/output/log 2>&1 &"
    	]
  	  }
	],
In this example, we set a timeout of 60 minutes for the image download and deployment. While cached images typically don’t take that long, workers might need additional time to download the entire image before they can begin executing tasks, which can be time-consuming.
We also configure SSH so that you can log in to the new node and manually interact with it if needed.
Finally, we execute the start.sh script, which is part of the image. The script is provided with a link to a Stable Diffusion (SD) model stored on the Golem dev proxy. (For your own use case, it's recommended to include the model directly in the image. By doing this, the model is downloaded from the Golem Registry in one piece, avoiding the need for additional accessing the internet after the node startup.
If you SSH into the worker, you should be able to view logs of the start.sh execution in the /usr/src/app/output/log file.
Port forwarding (sidecars)
	"sidecars": [
  	  {
    	"golem_workers.sidecars.WebsocatPortTunnelSidecar": {
      	  "network_name": "default",
      	  "local_port": "8080",
      	  "remote_port": "8000"
        }
  	  },
  	  {
    	"golem_workers.sidecars.WebsocatPortTunnelSidecar": {
      	  "network_name": "default",
      	  "local_port": "8081",
      	  "remote_port": "8001"
    	}
  	  }
	]
In this example, we forward two ports to allow access to services running on the node:
localhost:8080: This is where the Automatic1111 Web UI will be visible, allowing users to interact with the model interface.localhost:8081: This is a maintenance port, providing a bit of insight into the state of the node and its health.
3. Get the node's status
Next, you should wait until your node is up. Check the node state with a call to get-node:
curl --location 'http://localhost:8000/get-node' \
--header 'Content-Type: application/json' \
--data '{
  "cluster_id": "example",
  "node_id": "node0"
}'
It returns the node’s state:
provisioningmeans you have to wait a bit more for the deployment of the imagestartingmeans the image is up and running, and the starting actions are being performedstartedmeans the node is ready
4. Send a request to the node and generate images
In the final step, launch a web browser and go to http://localhost:8080/. This will open the Automatic1111 GUI, where you can generate images.
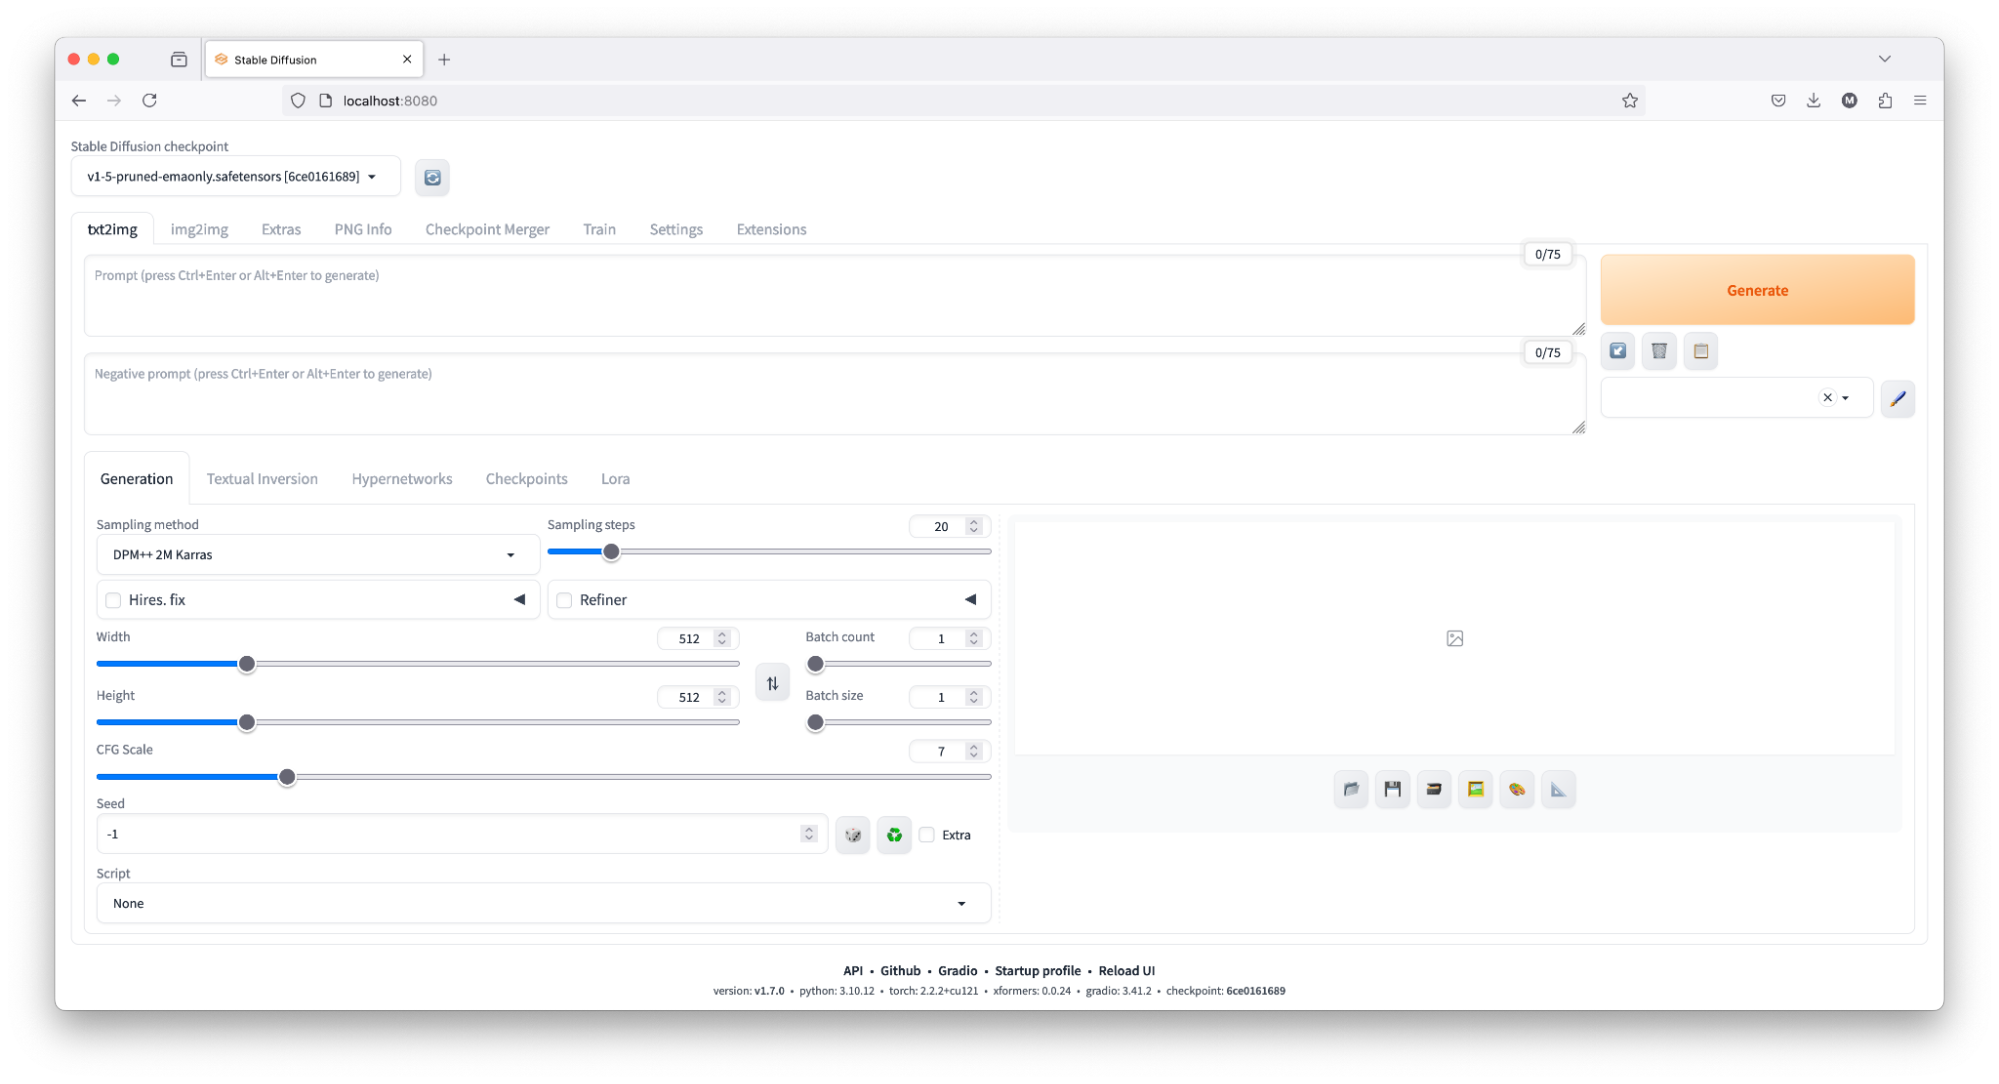
To generate some images using the Automatic1111 GUI, you can either enter your prompt or use the following example:
- Open the Automatic1111 GUI by navigating to http://localhost:8080/ in your web browser.
- In the prompt field, enter the text, eg. "portrait of a young woman, blue eyes, cinematic".
- (optional) Adjust any additional settings if needed, such as the number of steps, sampler type, or output dimensions.
- Click the “Generate” button to produce the images.
Alternatively, use the automatic1111 API directly
Copy and run the following Python code (directly in the terminal or using a Jupyter Notebook)
import requests, time, io, base64
from PIL import Image

url = 'http://localhost:8080'
headers = {
	'Content-Type': 'application/json'
}

data = {
	"prompt": "portrait of a young women, blue eyes, cinematic",
	"steps": 10,
	"width": 512,
	"height": 512
}
for i in range(1, 11):
  start_time = time.time()
  response = requests.post(url=f'{url}/sdapi/v1/txt2img', json=data)
  try:
  	r = response.json()
  except Exception:
  	print(f"Status code: {response.status_code}, Data: {response.content}")
  	continue
  end_time = time.time()

  inference_time = (end_time - start_time)
  print(f'Inference time #{i}:', inference_time, "seconds")

  image = Image.open(io.BytesIO(base64.b64decode(r['images'][0])))
  image.save(f'output-{i}.png')
This code will generate 10 images and save them to your computer.
5. Stop the cluster
After completing the testing, you can shut down the cluster, using the following command:
curl --location 'http://localhost:8000/delete-cluster' \
--header 'Content-Type: application/json' \
--data '{
  "cluster_id": "example"
}'